
How to Draw Yoda. There are so many iconic symbols in the Star Wars franchise that it would be tricky to decide which is the most recognizable!
Also, check our Dolphin Coloring Pages.
A few would definitely top the list, and one of them is the wise Jedi Master Yoda.
Known for his small size, immense wisdom, and unique way of speaking, he is well-known even to those who have never seen a Star Wars film.
Learning to draw Yoda is a great way to celebrate this famous character!
If you love this Jedi master, then this will be a tutorial that will bring you lots of fun to draw.
Get ready for a drawing tutorial strong with the Force as we begin this step-by-step guide on how to draw Yoda in just 6 easy steps!
How to Draw Yoda
Step 1
Learning to draw Yoda can be challenging as he has quite a detailed design.
Because of that, we will take it slow in this guide to ensure none of these details get too intimidating! First, we draw his head and face.
First, draw an irregular line for the top of his head. Next, we’ll use some curvy lines to draw his long, pointy ears sticking out the sides of his head.
You can then finish the bottom part of the outline for his face.
Finally, draw his intense facial expression with simple lines and then add some curved lines for the wrinkles on his forehead.
We will also draw the top of her robe before moving on to the second rung.
Step 2
To continue this drawing of Yoda, let’s now add the sleeves of his robes. Like all Jedi robes, his clothing is quite flowy and fits him reasonably loosely.
The left arm is drawn with rounded lines ending in a wide border. Because this arm is closest to us as observers, it appears much larger than the right arm.
Speaking of the arm on the right, you can draw that too. It will also have a sleeve drawn with curved lines, and its small hand will be curled up into a fish at the end.
Step 3
In this step of our how-to-draw Yoda guide, we will add his other wrist and hand and some more of his robe.
For the wrist on the left, we’ll use slightly curved lines for her thin wrist. This will end with another swipe, and that hand will grab his lightsaber afterward.
Then once you’ve drawn that hand, you can draw another part of her robe flowing to the left.
This will be drawn with even more curved lines, and we’ll add many rounded lines in this section to make it look more like fabric.
Let’s draw his legs for the next part of this drawing of Yoda. For the legs of her robes, we use more curved lines that end in broad, flat edges.
Make sure to add lots of curved line detailing on the inside of the pant legs to make them look like they’re fabric again.
Finally, for this step, we’ll draw her feet. These feet each have three toes with large, pointed nails at the end of each toe.
Step 4
Let’s draw his legs for the next part of this drawing of Yoda. For the legs of her robes, we use more curved lines that end in broad, flat edges.
Make sure to add lots of curved line detailing on the inside of the pant legs to make them look like they’re fabric again.
Finally, for this step, we’ll draw her feet. These feet each have three toes with large, pointed nails at the end of each toe.
This is the signature weapon of all Jedi and will complement this image well.
For the hilt of this lightsaber, draw a slim, straight shape that he’ll be clutching in his left hand. When it comes to the weapon’s laser blade, there are a couple of ways to describe it.
In our reference image, let’s draw a long, skinny shape. You could do that too, but if you colorize this image, you can also color the llama.
If this says something you’d want to do, you can skip this part and move on to the next step.
Step 5
The image we draw in this guide to drawing Yoda is a natural action shot, and no action shot featuring this character would be complete without his trusty lightsaber!
This is the signature weapon of all Jedi and will complement this image well.
For the hilt of this lightsaber, draw a slim, straight shape that he’ll be clutching in his left hand. When it comes to the weapon’s laser blade, there are a couple of ways to describe it.
In our reference image, let’s draw a long, skinny shape. You could do that too, but if you colorize this image, you can also color the llama.
If this says something you’d want to do, you can skip this part and move on to the next step.
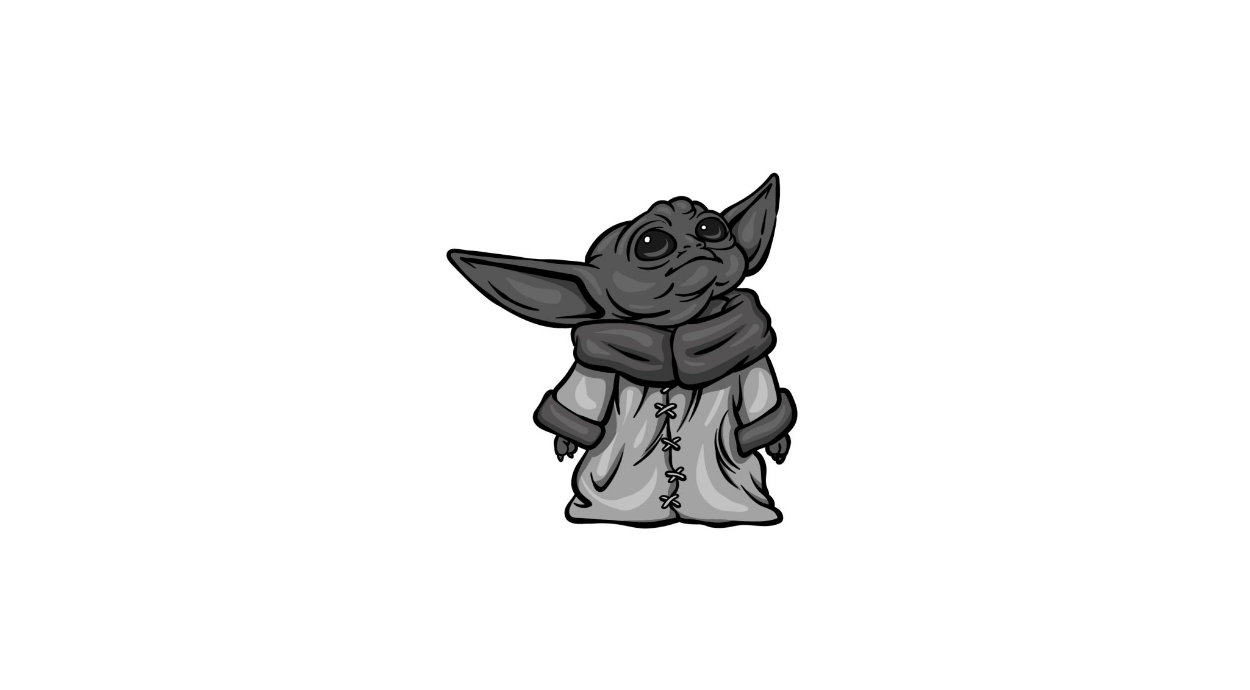
Now we can complete this drawing of Yoda with some colors! In our reference image, we show you how to colorize this image to make Yoda look like he does in the movies.
To do this, you need to use dark shades of green for his skin and then lighter shades of brown for his robes.
Step 6
Now we can complete this drawing of Yoda with some colors! In our reference image, we show you how to colorize this image to make Yoda look like he does in the movies.
To do this, you need to use dark shades of green for his skin and then lighter shades of brown for his robes.
In the previous step, we talked about using color to represent his lightsaber blade, and we’ll talk about that now.
Your lightsaber is green; you could use a darker green for the blade and a lighter shade for the glow around it.
We recommend using colored markers for the blade and a light watercolor for the glow around it.
Your Yoda Drawing is Finished!