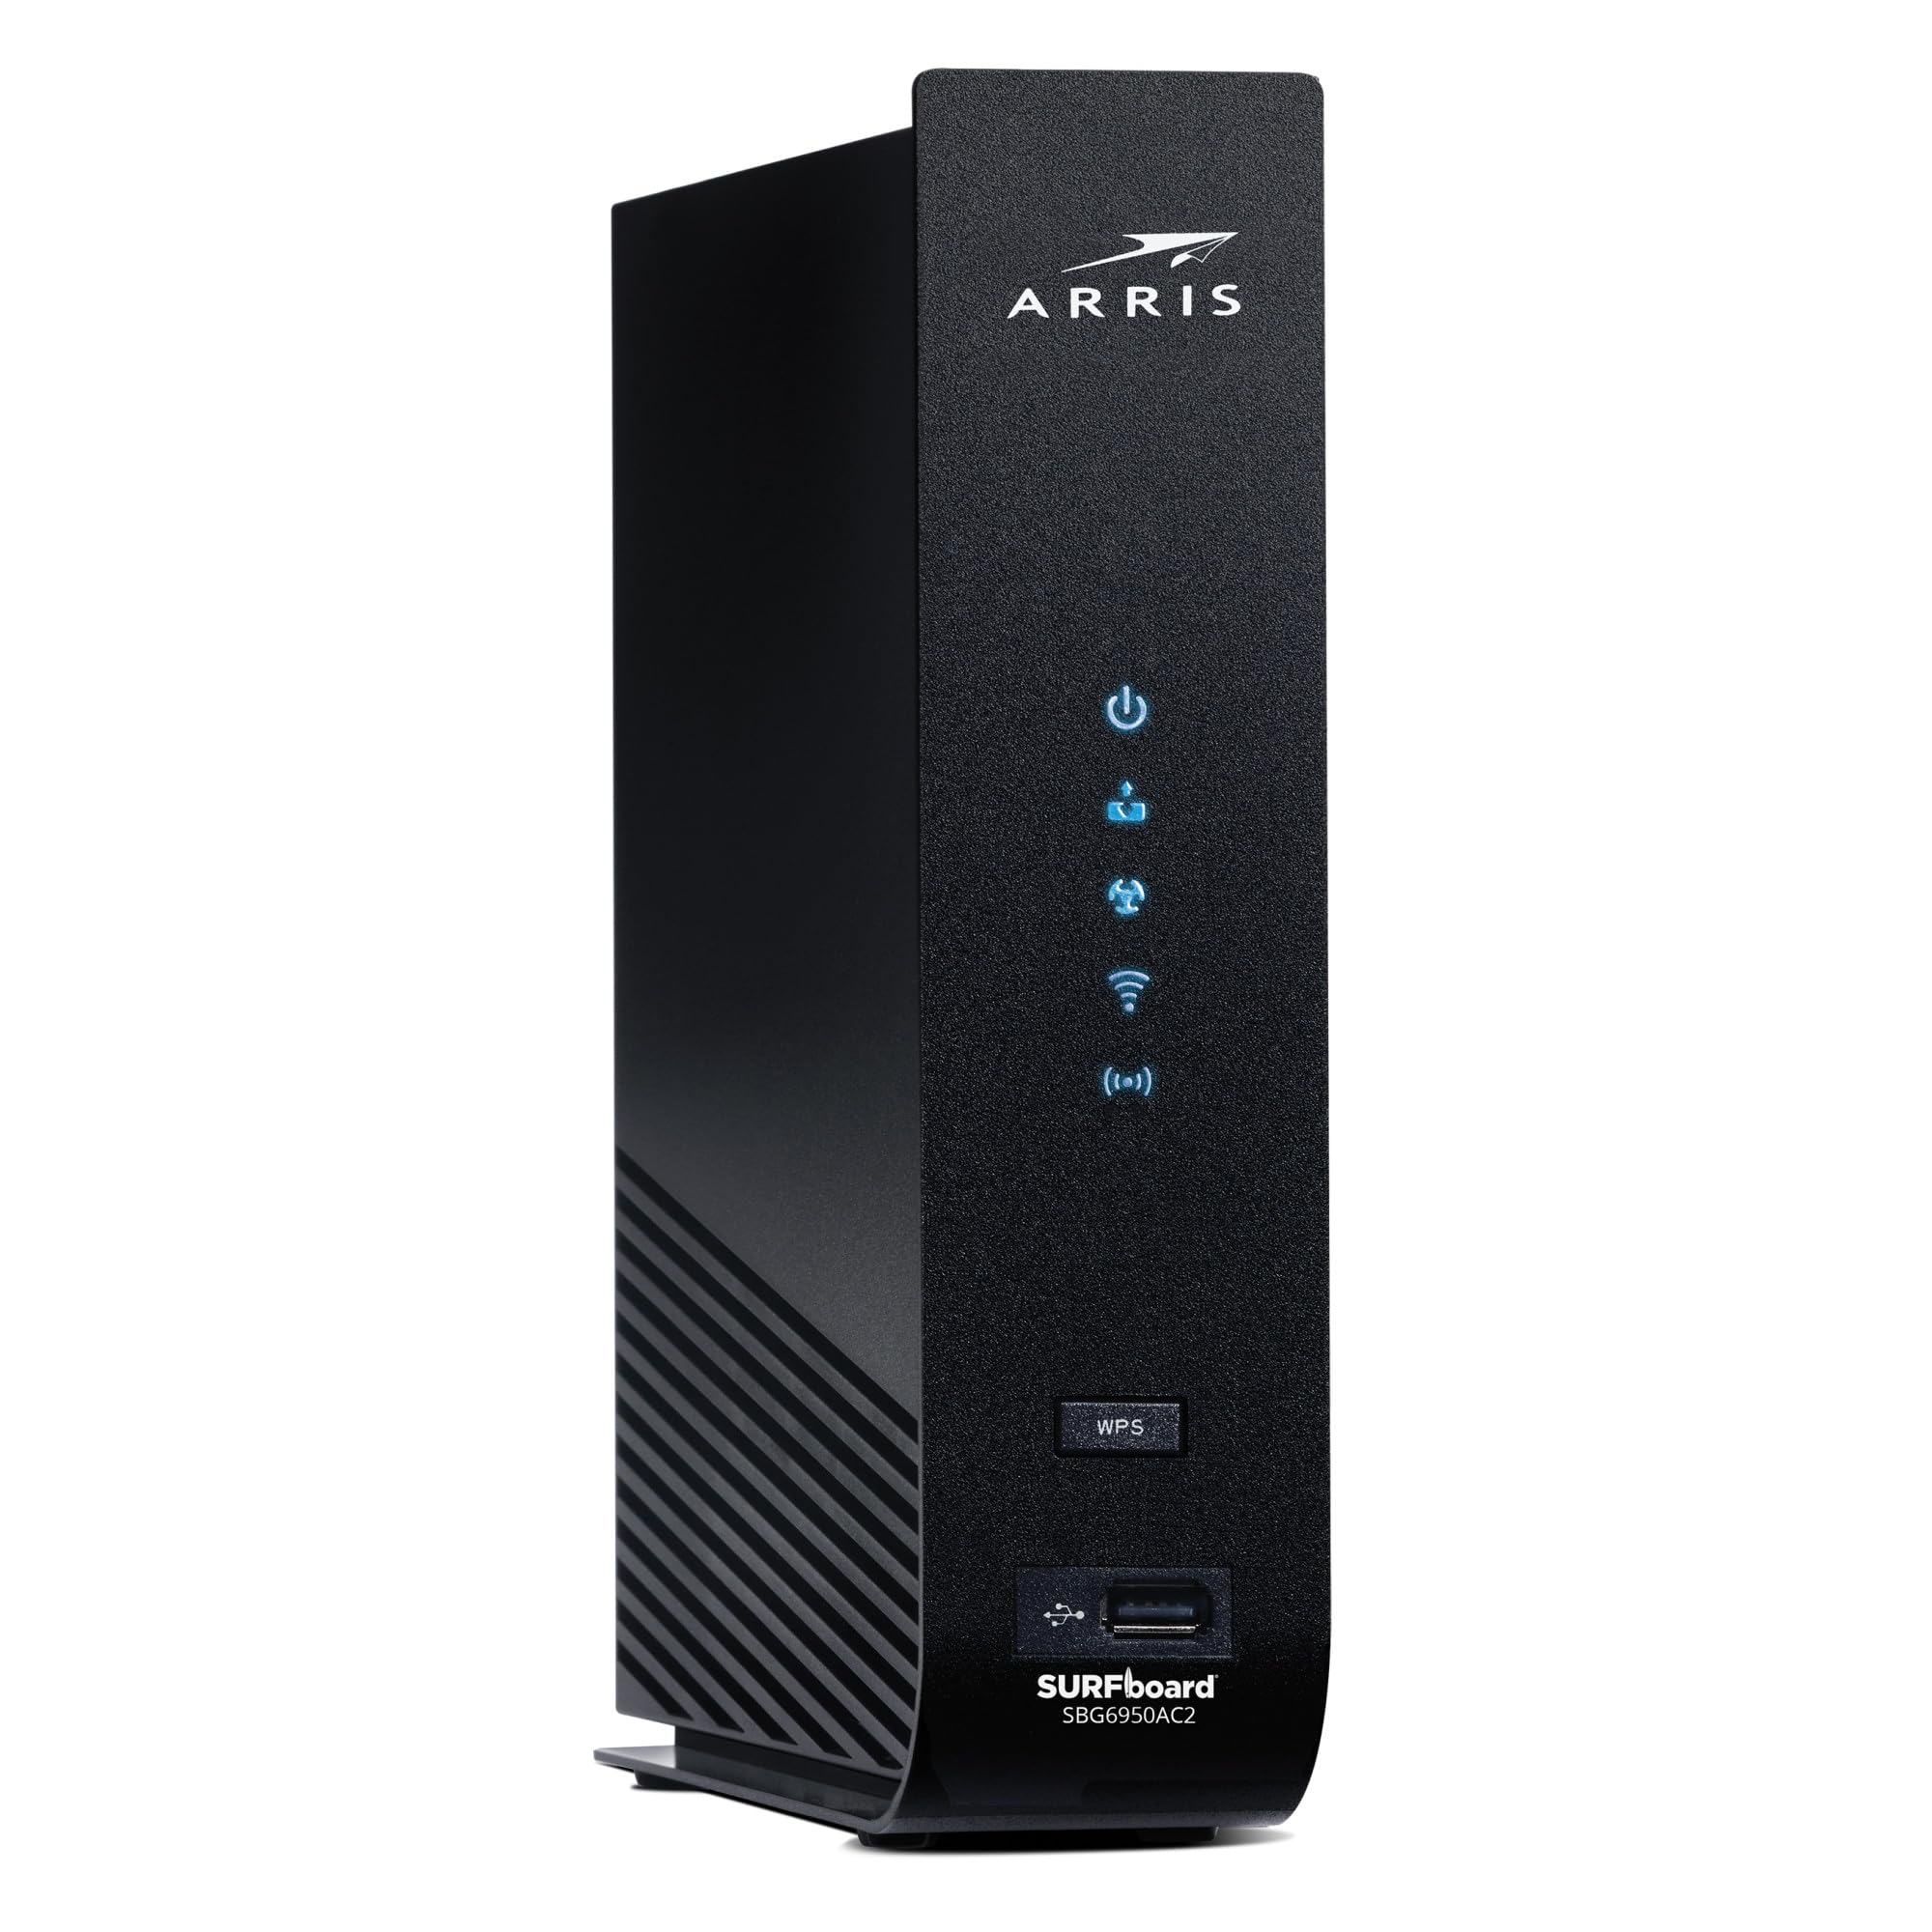
In this article, you will get to know about how to connect your new Arris router to home modem with the help of easy steps.
Then, you will learn how you can expand WiFi router network by linking extender to the router.
There are steps like physical connection between different networking devices and configuration process through interface using computer.
After setting up, you will see Arris router blinking green light which means the device is searching for upstream and downstream channels.
Connect Arris Router to Modem
There are way easy steps to link your new Arris router to the home modem. At first, you have to place the router close to the modem.
Use Ethernet Cable to Connect
- Connect the WAN port of the router to the LAN port of the modem with the help of cable.
- Then, turn on the router and modem by plugging their power cord to the wall socket.
Now, you have to access the interface with the help of your computer, the whole process steps are given down here.
Configure Your WiFi Router
- Link your compute to the router network and open an updated web browser.
- Now, you have to search the assigned IP address 192.168.0.1 (mostly used for Arris devices).
- The login window will open up, where you have to enter the username and password (find credentials in user manual)
- Press the Enter button and reach to the interface page, here you can easily configure the Arris WiFi router.
Now, let’s see how you can expand your router network by connecting a extender to the router via different methods.
Connect Extender to Arris Router
To establish a strong connection and experience fast internet speed, you just have to follow simple steps given down here.
By Ethernet Cable
You have to just place the extender close to router and take out the Ethernet cable for connection.
- Connect the cable to the router’s LAN port.
- Then, insert its other end to the extender’s WAN port.
- It is time to turn it on by plugging it in to a wall socket.
By WPS Method
To establish the connection between the router and extender, you can use WPS button on Arris router.
- Turn on the router and extender by plugging it into wall socket.
- Press the WPS button on the WiFi router first.
- Then, hit the WPS button on the extender.
- Both the devices will connect to each other automatically.
After establishing strong connection between routers to extender, now you have to start the configuration of extender.
Complete Link by Configuring
You have to link the computer with the extender with the help of LAN cable. Then, go to an updated web browser.
- In the web browser, you have to type the extender assigned IP address which is given on the label or user manual of the device.
- You have to hit the Enter button on the keyboard or click on the Log In option on the computer screen.
- By hitting the button, you will reach to the interface login page, where you have to enter the login credentials.
- You can use the WiFi extender user manual to find username and password credentials.
- Just enter the login credentials, and log in to the interface, where you can easily adjust the settings.
- You can also initiate firmware update, change admin credentials and enable or disable features easily from interface.
Ending Lines
Above, you have learned how to connect your new Arris router to the modem. After that, you have seen how to extend WiFi router network by linking range extender to the router through WPS button or Ethernet cable.


