
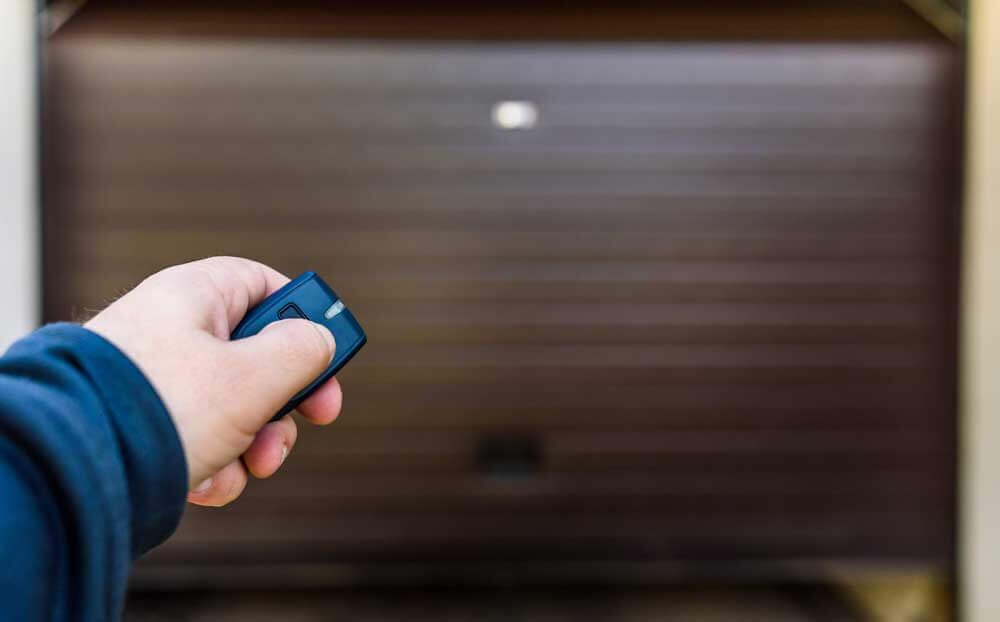
Garage doors is an integral component of many homes as well as businesses which offer convenience, security and protection to parked cars and other stored things. THE REMOTE CONTROLRemote control is one of the most critical features of a modern garage door. Which lets you open, and close, the door without exiting the car. But similar to any electronic device garage door remotes sometimes require reprogramming. Whether you’re searching for a lost remote, replaced the batteries, or having technical issues understanding how to program your garage door remote is essential.
In this blog, we will guide you through programming your garage door remote, share reasons for reprogramming and troubleshoot common problems.
Why Do You Need to Program Your Garage Door Remote?
Here are a few reasons your garage door remote may have to be reprogrammed:
Lost or Missing Remote: You’ll need to program your remote when you lose it or purchase a new one so that it can sync with your garage door opener.
Battery Change: When you change the batteries of your remote the programming may get erased or removed and the remote must be reprogrammed.
Faulty Remote: When your garage door remote is failing. The situation might be due to a problem with the programming and reprogramming can solve it.
The Purpose Why You Disable These Remote Reprogrammings Security issues: If you feel that somebody accessed your remote reprogramming ability, it can keep your garage door locked.
Luckily, reprogramming a garage door remote is an easy job, generally taking only a couple of minutes. A rolling code or fixed code system is used by most garage door openers and the programming process will vary slightly depending on the brand and model of your garage door opener.
Different Types of Garage Door Opener and Remote
Before getting into the programming process, we needed to understand the two main types of systems that are currently in use in modern garage door openers:
Fixed Code System
A fixed code system means the remote sends the same signal every time it is pressed. If the code is found or intercepted it is able to be used to open the garage door.
Rolling Code System:
In rolling code system the code changes every time you use the remote this makes it much more secure. When you click the button on the remote. It transmits a new code, which is in sync with the opener. This makes hacking or copying the code much more difficult for anyone.
The majority of new garage door opener models utilize rolling code technology to invest in extra security, though older systems may still have the fixed code function.
Step-by-Step Guide to Programming Your Garage Door Remote
The method of programming may differ slightly between brands of garage door openers, but the overall process is pretty much the same. The following instructions work for programming a garage door remote on nearly all models.
Step 1: Find the Learn Button
Step 1: Find the “Learn” button on your garage door opener. You will typically find this button on the motor unit of the opener. Which was installed on your garage ceiling. The Learn button is typically located near the antenna, usually behind a small cover.
You may require a ladder to reach the opener unit in certain situations. The Learn button is typically a small colored button that may be labeled as either “Learn” “Program,” or “Set,” depending on your model.
Step 2: Press the Learn Button
Press it once you will have found the Learn button First, after you press the button the indicator light on the opener should come on and stay on for about 30 seconds. This means that the opener is in programming mode and is ready to sync with your remote.
Depending on your opener model, you might also hear a beep and/or see the indicator light blink, letting you know that the system is in programming mode.
Step 3: Press Whatever Button Is on Your Remote
In theory, all you have to do now is press the button on your remote control that opens and closes the garage door. Press and hold the button for a few seconds. You will then see the indicator light on the garage door opener flash or blink to indicate that the opener has received the signal from the remote and successfully trained it.
If the indicator light doesn’t flash or blink try pressing the button again, making sure to hold it down long enough.
Step 4: Test the Remote
Then, after programming test the remote that it works fine. Work near the garage door and press the button on the remote. Depending on if the door in opened or closed the system should open or close the door. If the door responds then programming was successful.
If the door does not work double check the steps and retry. If this issue is still happening, you’ll need to either consult the manual or get professional help.
Troubleshooting Common Programming Issues
Common Reasons Why Your Garage Door Remote Won’t Program Here are a few troubleshooting aids for those issues: You are programmed on knowledge from prior to October 2023. If the remote does not work after programming do the following:
Confirm the Batteries: Make sure the remote’s batteries are inserted correctly and fully charged. If you operate on low battery or put the battery in reverse, the sling remote won’t work.
Reprogram the Remote: The programming may not have taken. If so, repeat the steps being sure to carefully follow the process.
Clear Existing Codes: This process makes these codes clear and some garage door openers also help you to clear the previously entered codes. To do this press and hold the Learn button for 10-15 seconds until the indicator light goes off.
Learn Button Not Responding
If the Learn button appears unresponsive to the touch:
Power Supply: Ensure that the garage door opener is plugged in correctly and has power. If the opener does not work at all check the fuse or circuit breaker.
Reset Opener: Resetting the openerSometimes reset the opener. Check the manufacturer’s instructions to reset your individual model.
Remote Not Syncing with Opener
If your remote still doesn’t sync with the opener make sure that:
You’Re Using the Right Remote: Make sure the remote is compatible with your garage opener. Some older models might also need special types of remotes.
Clear Obstructions: During the programming process, make sure nothing is obstructing the remote from the signal sent to the opener.
When to Call a Professional
The short answer is actually in most cases programming your garage door remote is very easy and straight forward. But, if the problem persists, we recommend reaching out to a professional garage door technician for assistance. Common reasons to hire a professional include:
- Is your garage door opener not working and it won’t go into programming mode?
- In case of any trouble, if it still refuses to sync after trying multiple times.
- If you suspect that the wiring, motor or control board may have a problem.
A qualified technician will able to diagnose issue and recommend steps to get the system back operational.
Conclusion
Programming a garage door remote is a simple process that you can do at home in a short amount of time with a little patience. Knowing the processes involved and how to fix common problems of HOAs will help you save time and money. This way you can make sure that your garage door opener will work smoothly and will be more efficient, whether it be replacing batteries programming a new remote, or resetting your system. So if you face issues you can not resolve yourself do not hesitate to seek the services of a professional emergency garage door repair service to do the fixing. With the proper care and attention. With proper maintenance, your garage door system can last for years to provide convenience and security.