

Table of Contents
ToggleCell culture is a cornerstone of modern biological research, enabling scientists to study cells in a controlled environment. Whether you’re working on cancer research, drug development, or regenerative medicine, the success of your experiments often hinges on one critical decision: choosing the right cell culture dishes. With so many options available, selecting the perfect dish can feel overwhelming. But don’t worry—this guide will break it all down for you, making it easy to understand and helping you make the best choice for your lab’s unique needs.
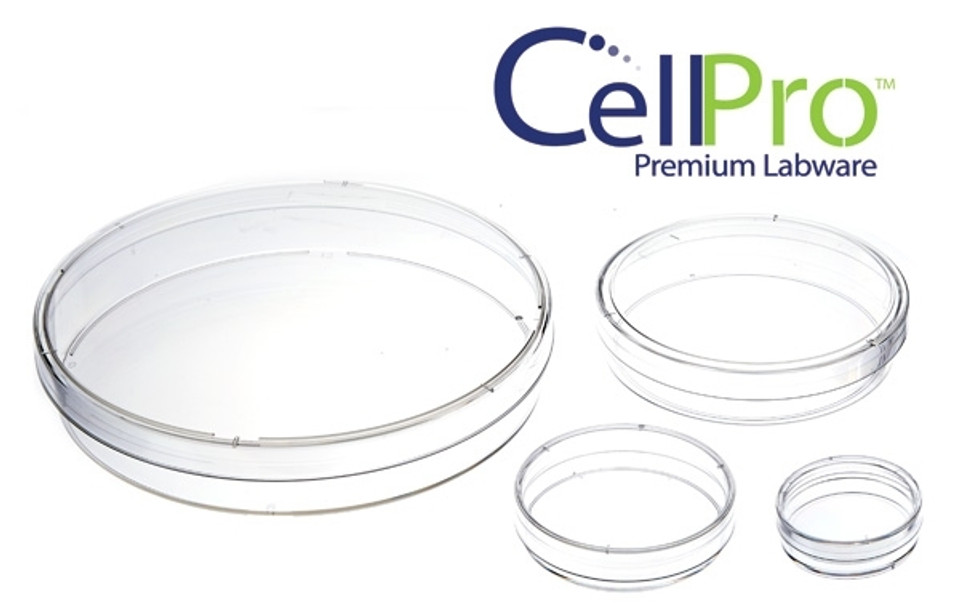
What Are Cell Culture Dishes, and Why Do They Matter?
Cell culture dishes are shallow, flat containers designed to grow and maintain cells outside their natural environment. They come in various sizes, materials, and surface treatments, each tailored to specific types of cells and experiments. Think of them as the “homes” for your cells—the better the home, the healthier and more productive your cells will be.
Choosing the right dish is crucial because it directly impacts cell adhesion, growth, and behavior. The wrong dish can lead to poor cell viability, inconsistent results, or even failed experiments. So, let’s dive into the key factors you need to consider when selecting cell culture dishes.
1. Material: Plastic vs. Glass
The material of your cell culture dish is one of the first decisions you’ll need to make. The two most common options are plastic and glass.
- Plastic Dishes: Most labs prefer these for their convenience. Manufacturers make plastic dishes from polystyrene, making them lightweight, disposable, and cost-effective. They also offer sterile, pre-packaged formats that save you time and effort. However, not all plastics offer the same quality. Some cells may require specialized surface treatments (like plasma treatment) to improve adhesion.
- Glass Dishes: Glass dishes are less common but offer unique advantages. They’re reusable, environmentally friendly, and provide excellent optical clarity for microscopy. However, they’re heavier, more fragile, and require thorough sterilization between uses. Glass is often preferred for specialized applications, such as electrophysiology or high-resolution imaging.
Pro Tip: If you’re working with sensitive cells or advanced imaging techniques, glass might be worth the extra effort. For routine cell culture, plastic dishes are usually the best bet.
2. Size Matters: Choosing the Right Diameter
Cell culture dishes come in a range of sizes, from tiny 35 mm dishes to large 150 mm ones. The size you choose depends on the scale of your experiment and the number of cells you need to grow.
- Small Dishes (35 mm to 60 mm): Ideal for small-scale experiments, pilot studies, or when working with limited cell numbers. They’re also great for high-throughput screening or when you need to test multiple conditions simultaneously.
- Medium Dishes (100 mm): A versatile choice for most routine cell culture work. They provide enough surface area for growing a substantial number of cells without taking up too much space in the incubator.
- Large Dishes (150 mm): Perfect for large-scale experiments or when you need to harvest a significant number of cells. Keep in mind that these dishes require more media and incubator space.
Pro Tip: Always consider your incubator space and media costs when choosing dish size. A larger dish isn’t always better—it’s about finding the right balance for your needs.
3. Surface Treatment: Coated vs. Non-Coated
The surface of your cell culture dish plays a critical role in cell adhesion and growth. Most dishes come with either a standard (non-coated) surface or a specialized coating.
- Non-Coated Dishes: These are suitable for cells that adhere well on their own. They’re also a good choice if you plan to coat the dish yourself with a specific extracellular matrix protein.
- Coated Dishes: Some cells, like stem cells or neurons, require extra help to adhere and grow. Coated dishes come pre-treated with substances like poly-L-lysine, collagen, or laminin to enhance cell attachment and proliferation.
Pro Tip: If you’re working with finicky cells, coated dishes can save you a lot of time and frustration. Just make sure the coating matches your cell type and experimental goals.
4. Sterility: Pre-Sterilized vs. Autoclavable
Sterility is non-negotiable in cell culture. Contamination can ruin your experiment and waste valuable time and resources. When choosing cell culture dishes, consider how they’re sterilized.
- Pre-Sterilized Dishes: Most plastic dishes come pre-sterilized by gamma irradiation or ethylene oxide gas. They’re ready to use straight out of the package, making them convenient and reliable.
- Autoclavable Dishes: Glass dishes and some reusable plastic dishes can be sterilized using an autoclave. While this option is more eco-friendly, it requires additional time and effort.
Pro Tip: For most labs, pre-sterilized dishes are the way to go. They’re hassle-free and ensure consistent sterility.
5. Special Features: Vented vs. Non-Vented Lids
Did you know that even the lid of your cell culture dish can impact your experiment? Cell culture dishes come with two main types of lids: vented and non-vented.
- Vented Lids: These lids have small filters or gaps that allow for gas exchange while preventing contamination. They’re ideal for long-term cultures or when using a CO2 incubator.
- Non-Vented Lids: These lids seal completely, making them better for short-term cultures or when working outside a CO2 incubator.
Pro Tip: If you’re unsure, vented lids are a safe choice for most applications. They provide the flexibility to work in different conditions.
6. Cost: Balancing Budget and Quality
Let’s face it—budget is always a consideration in the lab. While it might seem obvious to select the cheapest option, remember that quality matters. Low-quality dishes can lead to inconsistent results, contamination, or even cell death.
- Plastic Dishes: Generally more affordable, especially when bought in bulk. Look for reputable brands to ensure quality.
- Glass Dishes: More expensive upfront but can be cost-effective in the long run if you reuse them.
Pro Tip: Don’t skimp on quality, but do shop around for deals. Many suppliers provide discounts on large orders or subscriptions.
7. Compatibility: Matching Dishes to Your Equipment
Finally, make sure your cell culture dishes are compatible with your lab equipment. For example:
- Microscopy: If you’re doing live-cell imaging, choose dishes with thin, optically clear bottoms.
- Automated Systems: Some high-throughput systems require specific dish formats or sizes.
- Incubators: Ensure your dishes fit comfortably in your incubator without overcrowding.
Pro Tip: Always double-check the specifications of your equipment before ordering dishes in bulk.
Summary
Choosing the right cell culture dishes might seem like a small detail, but it can have a big impact on your research. By considering factors like material, size, surface treatment, and sterility, you can create the ideal environment for your cells to thrive. Remember, every experiment is unique, so take the time to evaluate your specific needs and choose wisely.
Whether you’re a seasoned researcher or just starting out, the right cell culture dishes can make all the difference. So, go ahead—give your cells the home they deserve, and watch your experiments flourish!